Today we're going to learn how to smooth skin and remove blemishes.
By the end of this tutorial, you'll have a result of what looks exactly like the pictures they show in those Proactiv Solution commercials.
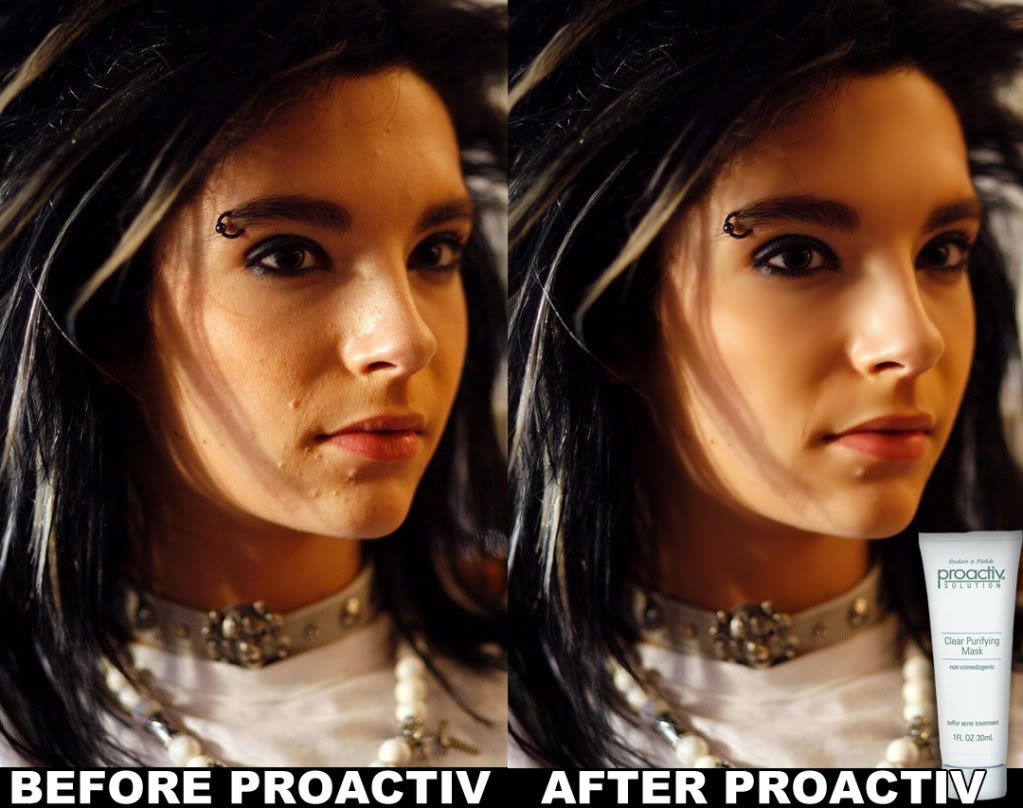
Julianne Hough and Jessica Simpson got nothin' on me, bitches.
Click on each image to see it in full-size. Remember this if you're squinting to read the tiny text.
I found this image of younger Bill lookin' adorable as ever, although he has a little bit of acne on his face.
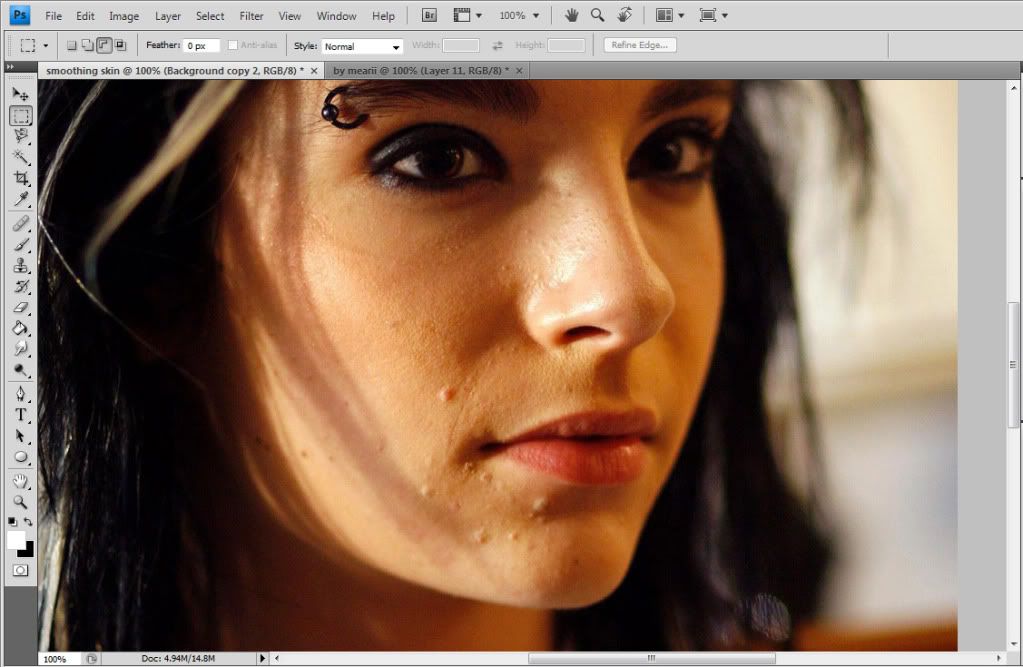
As hard as it is to believe, he is human, and everyone has bad skin days. However, this is a good example to show how to get rid of those days using Photoshop.
I circled the spots in red we shall focus the most on:

Select the healing spot tool. Set the hardness to 0%, and make the size big enough to fit over the blemish.
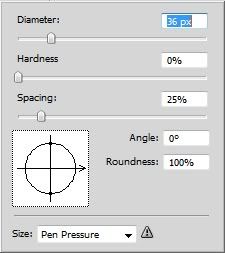
Here are the settings I'll be using.
Now take your cursor and place it over the area you want to de-blemish. DO NOT click ON the blemish itself, but press your ALT key and click on an area of the skin around the blemish. The healing spot tool clones the area that you select when you press down your alt key and click, so you don't want to select a part of the skin that isn't clear.
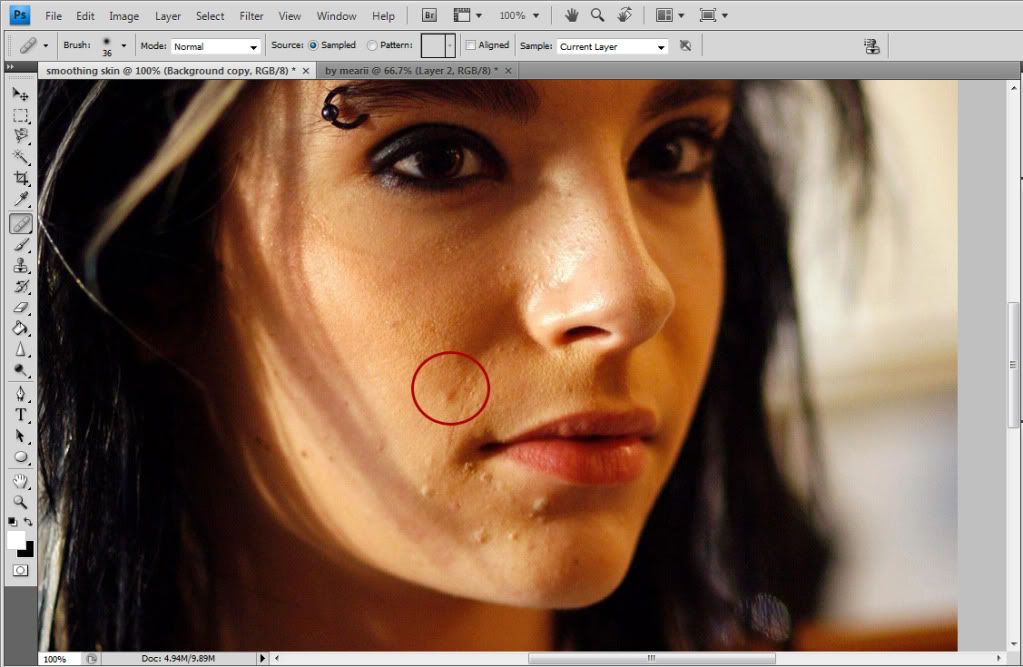
When you hover over the blemish you want to cover up, you'll notice that it gives a previews how it would look. If you're satisfied right click. It magically disappears! :o Well, it's not really magic, it's just photoshop.
Keep going over the areas you want to look smooth by ALT+clicking and then clicking over the imperfections. If you mess up you can always press CTRL+Z or Edit->Undo to start again. Fifteen minutes later, this is my result:

I decided to leave his mole because, well, I like it. :) You can stop here, or if you want to make the skin look really airbrushed and poreless, you can do so by using the smudge tool. Find your smudge tool and big a really big, soft brush to start. Click on an open area of the face, and drag your mouse in small, circular motions to smudge the skin.

It should look a little something like this. Try to stay away from the eyes and lines of the face to keep from losing detail and making it look too blurry.
Also, make little movements, to avoid doing something like this:
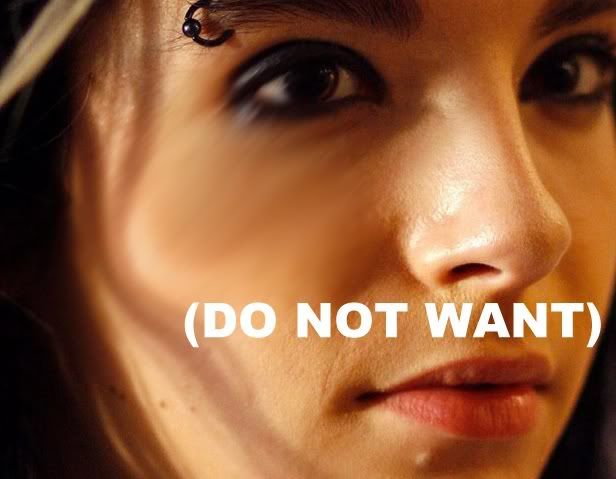
Keep in mind the shadows on the face as well. You don't want to distort anything, you're just smoothing things out.
Use all different sizes of brushes to get into smaller areas. It might take a little while, but when you're finished it should look a bit like this:

This is optional, but I also decided to smooth the lips as well.
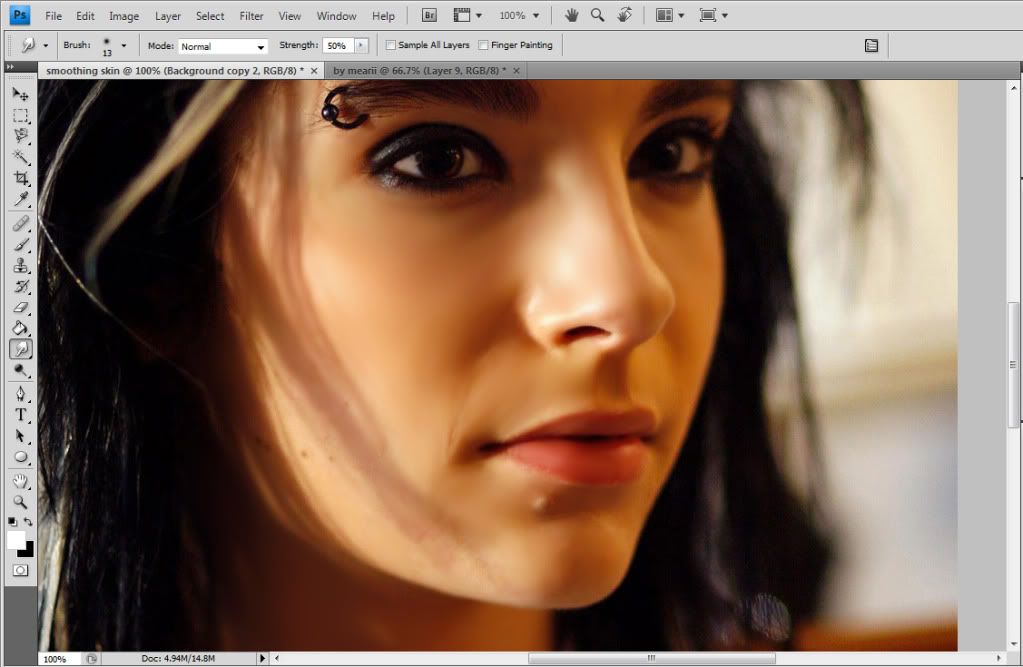
And here's our finished product:

I hope this provided some help to you! For any questions or troubleshooting feel free to leave a comment below.
By the end of this tutorial, you'll have a result of what looks exactly like the pictures they show in those Proactiv Solution commercials.

Julianne Hough and Jessica Simpson got nothin' on me, bitches.
Click on each image to see it in full-size. Remember this if you're squinting to read the tiny text.
I found this image of younger Bill lookin' adorable as ever, although he has a little bit of acne on his face.

As hard as it is to believe, he is human, and everyone has bad skin days. However, this is a good example to show how to get rid of those days using Photoshop.
I circled the spots in red we shall focus the most on:

Select the
 healing spot tool. Set the hardness to 0%, and make the size big enough to fit over the blemish.
Here are the settings I'll be using.
Now take your cursor and place it over the area you want to de-blemish. DO NOT click ON the blemish itself, but press your ALT key and click on an area of the skin around the blemish. The healing spot tool clones the area that you select when you press down your alt key and click, so you don't want to select a part of the skin that isn't clear.

When you hover over the blemish you want to cover up, you'll notice that it gives a previews how it would look. If you're satisfied right click. It magically disappears! :o Well, it's not really magic, it's just photoshop.
Keep going over the areas you want to look smooth by ALT+clicking and then clicking over the imperfections. If you mess up you can always press CTRL+Z or Edit->Undo to start again. Fifteen minutes later, this is my result:

I decided to leave his mole because, well, I like it. :) You can stop here, or if you want to make the skin look really airbrushed and poreless, you can do so by using the
 smudge tool. Find your smudge tool and big a really big, soft brush to start. Click on an open area of the face, and drag your mouse in small, circular motions to smudge the skin.
It should look a little something like this. Try to stay away from the eyes and lines of the face to keep from losing detail and making it look too blurry.
Also, make little movements, to avoid doing something like this:

Keep in mind the shadows on the face as well. You don't want to distort anything, you're just smoothing things out.
Use all different sizes of brushes to get into smaller areas. It might take a little while, but when you're finished it should look a bit like this:

This is optional, but I also decided to smooth the lips as well.

And here's our finished product:

I hope this provided some help to you! For any questions or troubleshooting feel free to leave a comment below.
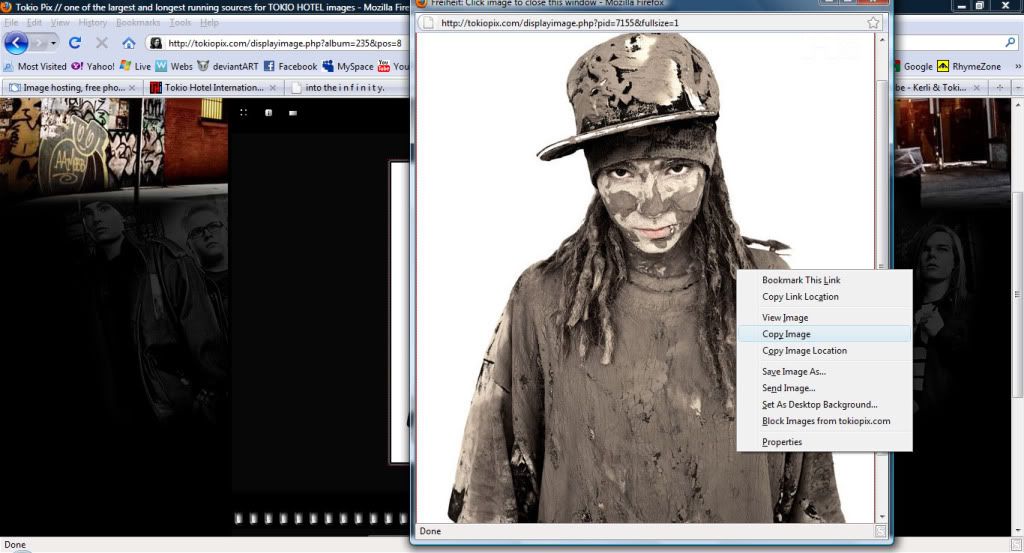
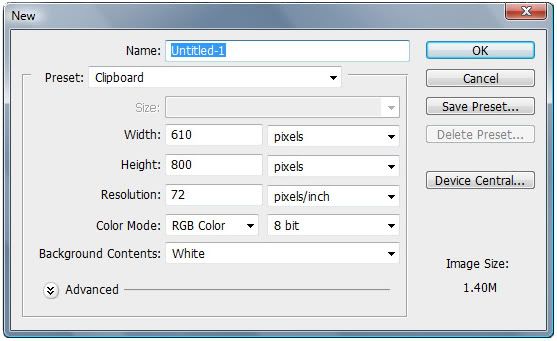
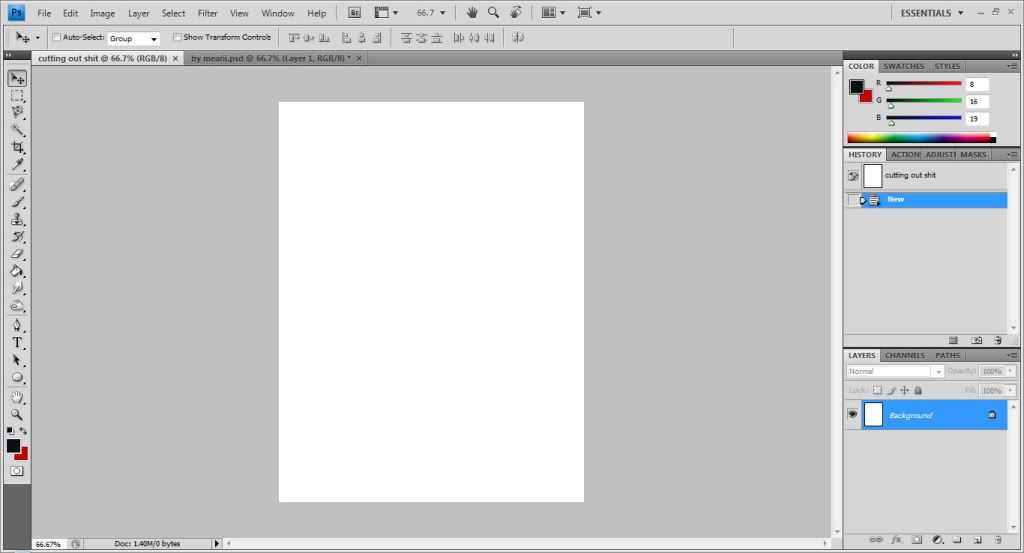
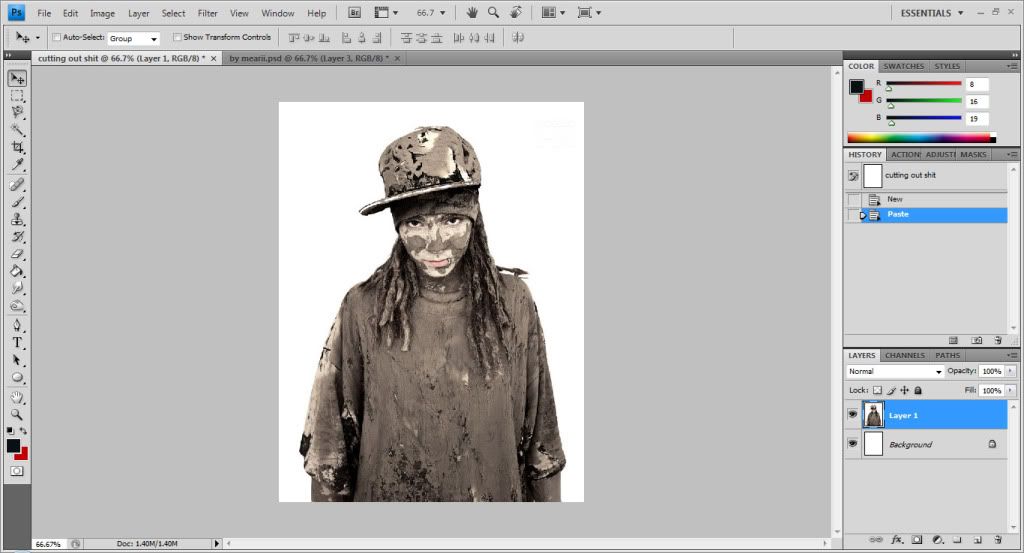
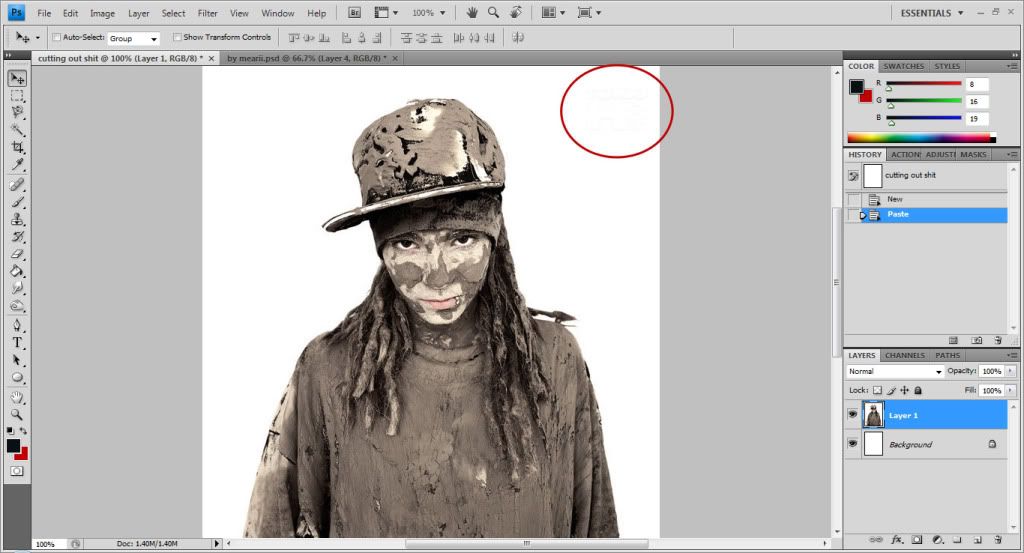
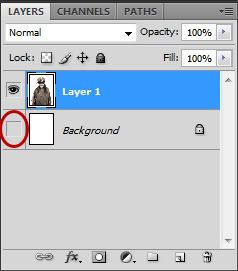
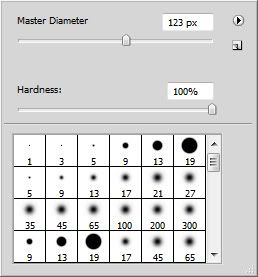
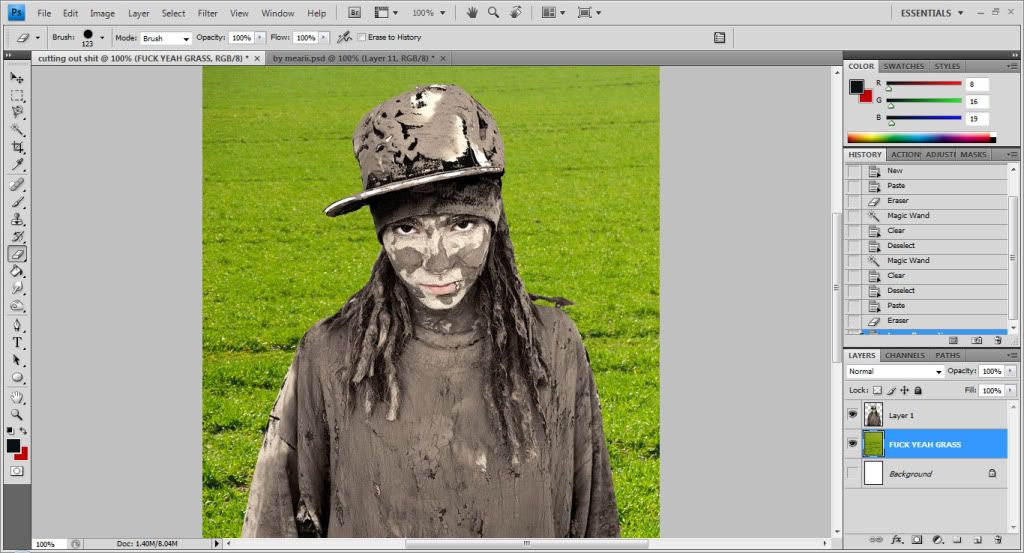
 eraser tool. It doesn't matter what settings there are, really, but here's mine:
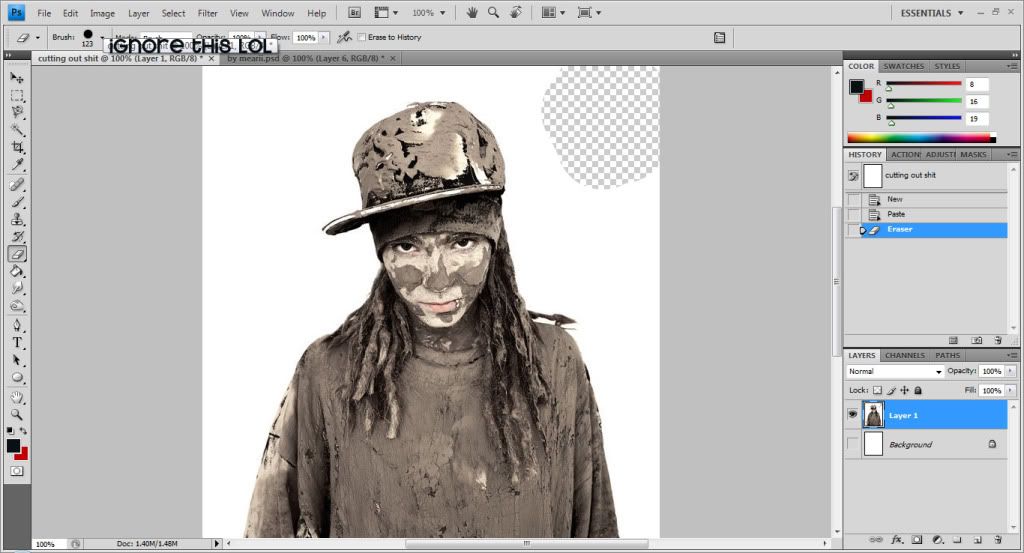
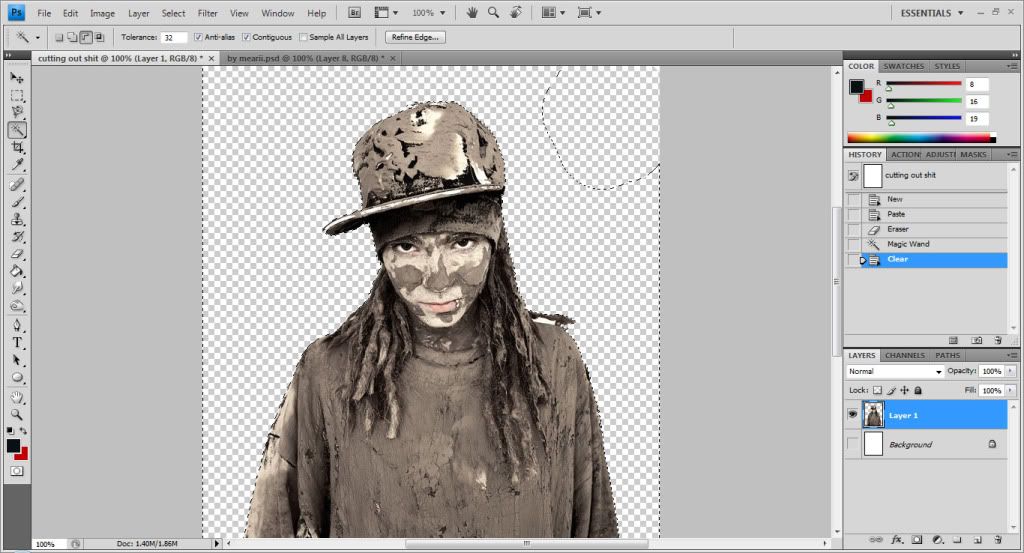
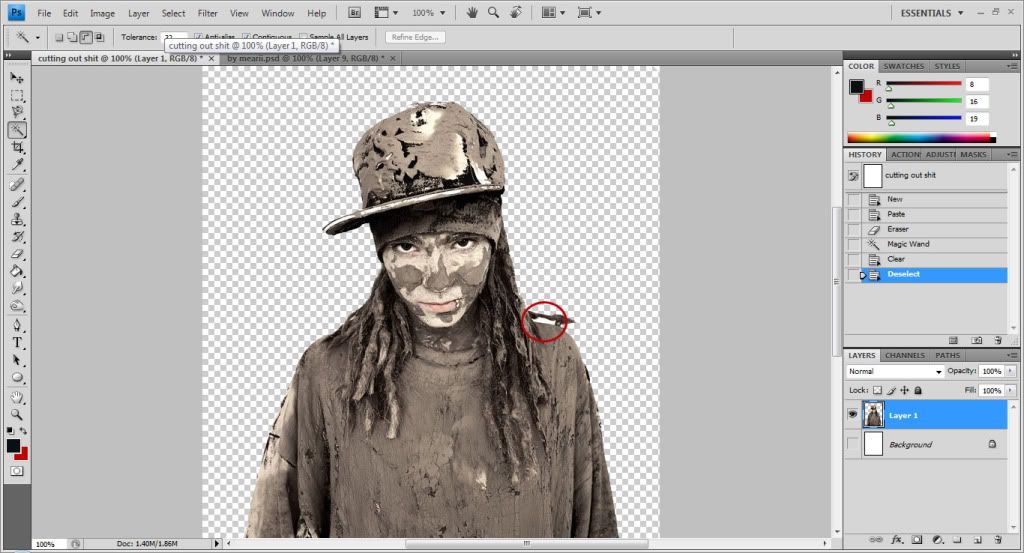
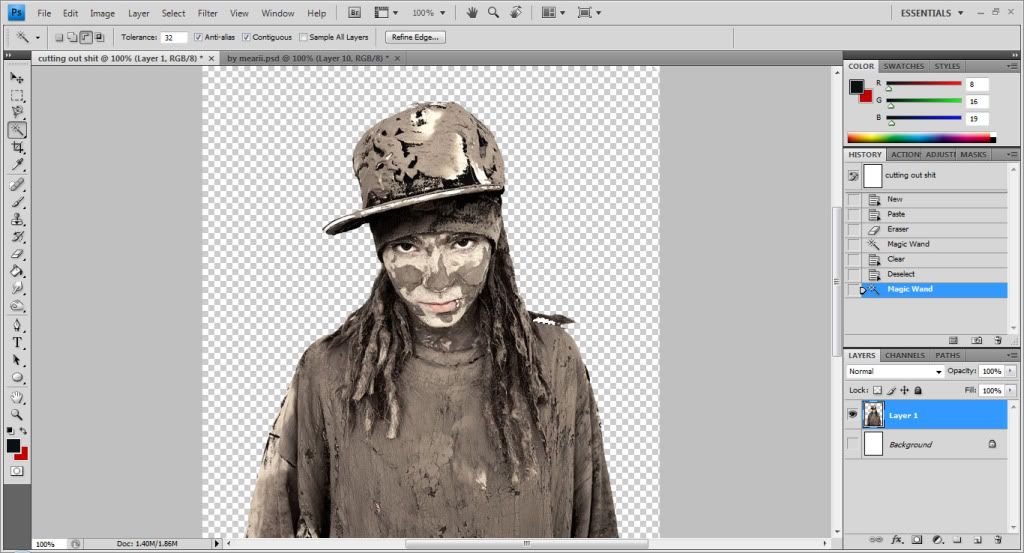
 Magic Wand tool. (If you can't see the magic wand tool, right click on the quick selection tool.) Click on your background and the entire thing will be outlined in a blinking dotted line. This means that whole area within the outline is selected.

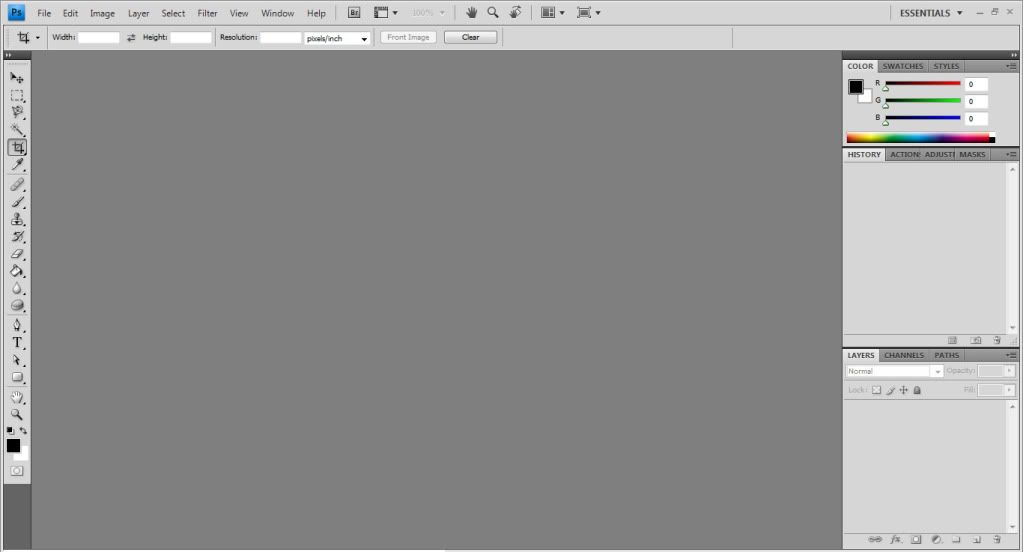
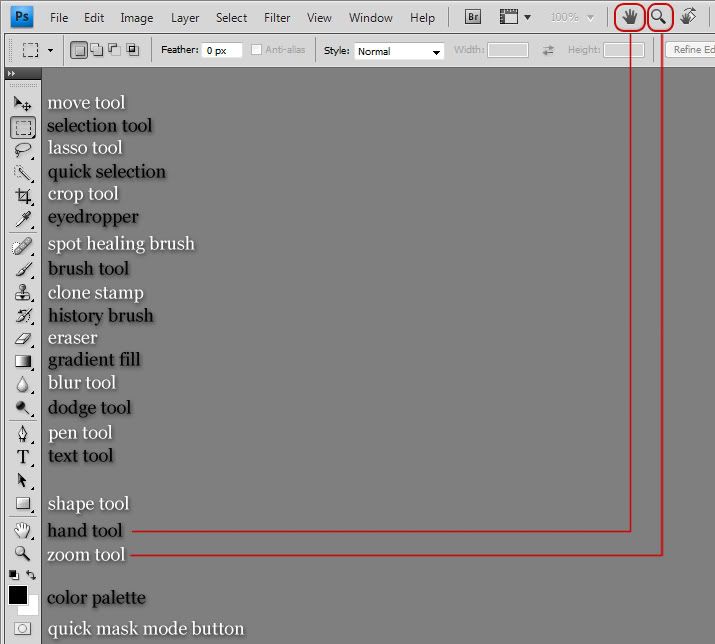
 - The Move Tool is used to... well... move things. With the move tool you can move whatever you like anywhere you like within your workspace. To use it just click on what you want to move and drag it to the desired location, otherwise you can use the arrow keys on your keyboard to move things in pixel by pixel.
  - The Selection Tool is used to select geometric shapes on your image. The rectangular selection tool makes square and rectangular selections. However, if you right click on the selection tool you will get a drop-down menu that looks like this:
 - The Lasso Tool. The lasso tool allows you to make a freehand selection of your choice. Just click and drag, and the lasso tool will make an independent selection based on what you draw. Once you make a selection, that selection becomes unique. Then you can add certain effects, fill in with color, or delete entirely the part of the image you selected. I'll go more in depth another time.
 - The Quick Selection Tool makes fast and easy selections quite like the magnetic lasso tool, but less tediously and usually less efficiently. This tool only comes with Photoshop versions CS3 and later. Right click on the quick selection tool and get this menu:
 - The Crop Tool lets you crop your images smaller, helping to get trim off pesky corners or parts of an image that you don't want.
 - The Eyedropper Tool is used to take colors from an image. When you click on the section of the image you want to take the color from, the color appears in your color palette.
 - The Spot Healing Tool helps erase blemishes and imperfections by cloning areas of the image around the blemish and replacing them.
 - The Brush Tool acts like a real life paintbrush- you can paint with it, or use preset brush shapes and pictures to create textures and patterns.
 - The Clone Stamp Tool lets you duplicate parts of your image.
 - The Eraser Tool is entirely self-explanatory: it lets you erase parts of your image.
  - The Gradient Tool fills your image with gradients that you can customize with your liking. Right click and get this drop down menu:
 - The Blur Tool lets you soften specified areas of an image. Right click and get this drop down menu:
 - The Dodge Tool allows you to lighten areas of the image. Right click on the dodge tool and get this drop down menu:
