Today I'm going to show you how to animate images to make it look like your character is blinking, as seen in the following:
Animations are basically a bunch of still images looped together so it looks like something is moving. A nifty feature in Photoshop allows us to make animations.
Click on the image to see it in full-size. Remember this if you're squinting to read tiny text.
First of all I'm gonna open the image I want to animate in Photoshop.

I'll be using this image of Bill. Because of his thick black eyeliner it'll just make everything all the more easier to do.

Go to the layers palette, right click on your background layer and choose "Duplicate layer."

None of these settings really matter but I'll show you this box anyway so you know that you're doing it right. Click "OK."

Now you have an extra layer on top of your background layer that looks exactly like your background layer.
Select the brush tool. Go over by the top where it shows a preview of your brush and click the little arrow next to it. Now you can edit your brush.

You might have to use the eyedropper tool to get the right color, but here we can just use black. Make sure to pick a smaller brush so it'll be easier to color in the eyes. I used 15px.
Using the brush, paint over the eye area, but only do so half-way. Make sure you have your duplicate background layer selected.

Now Bill looks like he's on some pretty heavy drugs. Which is good, because it's exactly what we want!

Now repeat the previous steps, right clicking on your "background copy" layer and duplicating that, so you have a duplicate of your duplicate background layer duplicated.

Now fill in the rest of the eyes so they appear closed. Make sure you do this with utmost caution or else your computer just might implode. UTMOST. CAUTION.
Once you're finished with that, click on the "Window" button located in the top menu of the screen. Select "Animation." A little box will pop up that looks sort of like this:

Click on the little icon thingy with the arrow and two little lines in the right corner of the window. See, I circled it for you. You're welcome.

Select "Make frames from layers." Poof! Now all the layers you just made have turned into animation frames. Just like Disney World.

If you click the "play" button, it just looks sort of like Bill has a weird twitching problem. Let's fix that by making the animation look smoother. Select the second frame, which is the one where his eyes are half-closed. Drag the frame into the "Duplicate selected frames" button. It looks like a piece of paper with the corner folded up.

Take the layer that you just duplicated and drag it to the end of the animation.
Now if you play the animation, it looks like Bill has dry eye issues because he is blinking way too much! Now we have to fix that. Select the first frame.

Underneath the frame there are little words that say "# sec." This indicates the duration of the frame. If you click on the tiny arrow next to it, you can change how long the animation stays on that certain frame. Research indicates that humans blink once every five seconds. Screw that, we're just going to set it to "2."
Now go to the menu at the top again, and click "File > Save for Web & Devices" or just press Alt+Shift+Ctrl+S on your keyboard.

ARGH! All these complicated things! What do they all mean? Yeah, it doesn't matter. Just pick "save" and save the image to your hard drive. Make sure you save it in a .gif format.
After uploading the image, this is our final result:

Animations tend to take more time to load, so use sparingly. However, you can use this effect to make some really cool icons and signatures. Hope this helps you!
 |   |
Click on the image to see it in full-size. Remember this if you're squinting to read tiny text.
First of all I'm gonna open the image I want to animate in Photoshop.

I'll be using this image of Bill. Because of his thick black eyeliner it'll just make everything all the more easier to do.

Go to the layers palette, right click on your background layer and choose "Duplicate layer."
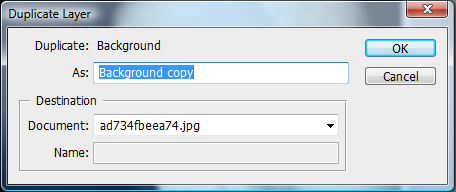
None of these settings really matter but I'll show you this box anyway so you know that you're doing it right. Click "OK."
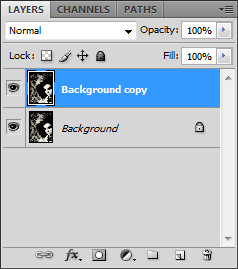
Now you have an extra layer on top of your background layer that looks exactly like your background layer.
Select the
brush tool. Go over by the top where it shows a preview of your brush and click the little arrow next to it. Now you can edit your brush.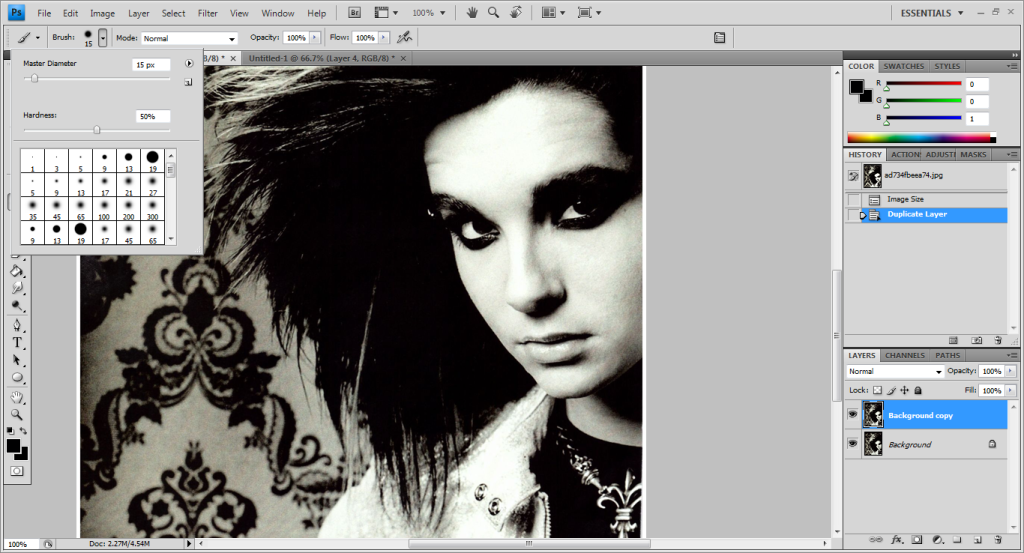
You might have to use the
eyedropper tool to get the right color, but here we can just use black. Make sure to pick a smaller brush so it'll be easier to color in the eyes. I used 15px.Using the brush, paint over the eye area, but only do so half-way. Make sure you have your duplicate background layer selected.

Now Bill looks like he's on some pretty heavy drugs. Which is good, because it's exactly what we want!

Now repeat the previous steps, right clicking on your "background copy" layer and duplicating that, so you have a duplicate of your duplicate background layer duplicated.

Now fill in the rest of the eyes so they appear closed. Make sure you do this with utmost caution or else your computer just might implode. UTMOST. CAUTION.
Once you're finished with that, click on the "Window" button located in the top menu of the screen. Select "Animation." A little box will pop up that looks sort of like this:

Click on the little icon thingy with the arrow and two little lines in the right corner of the window. See, I circled it for you. You're welcome.

Select "Make frames from layers." Poof! Now all the layers you just made have turned into animation frames. Just like Disney World.

If you click the "play" button, it just looks sort of like Bill has a weird twitching problem. Let's fix that by making the animation look smoother. Select the second frame, which is the one where his eyes are half-closed. Drag the frame into the "Duplicate selected frames" button. It looks like a piece of paper with the corner folded up.

Take the layer that you just duplicated and drag it to the end of the animation.
Now if you play the animation, it looks like Bill has dry eye issues because he is blinking way too much! Now we have to fix that. Select the first frame.

Underneath the frame there are little words that say "# sec." This indicates the duration of the frame. If you click on the tiny arrow next to it, you can change how long the animation stays on that certain frame. Research indicates that humans blink once every five seconds. Screw that, we're just going to set it to "2."
Now go to the menu at the top again, and click "File > Save for Web & Devices" or just press Alt+Shift+Ctrl+S on your keyboard.
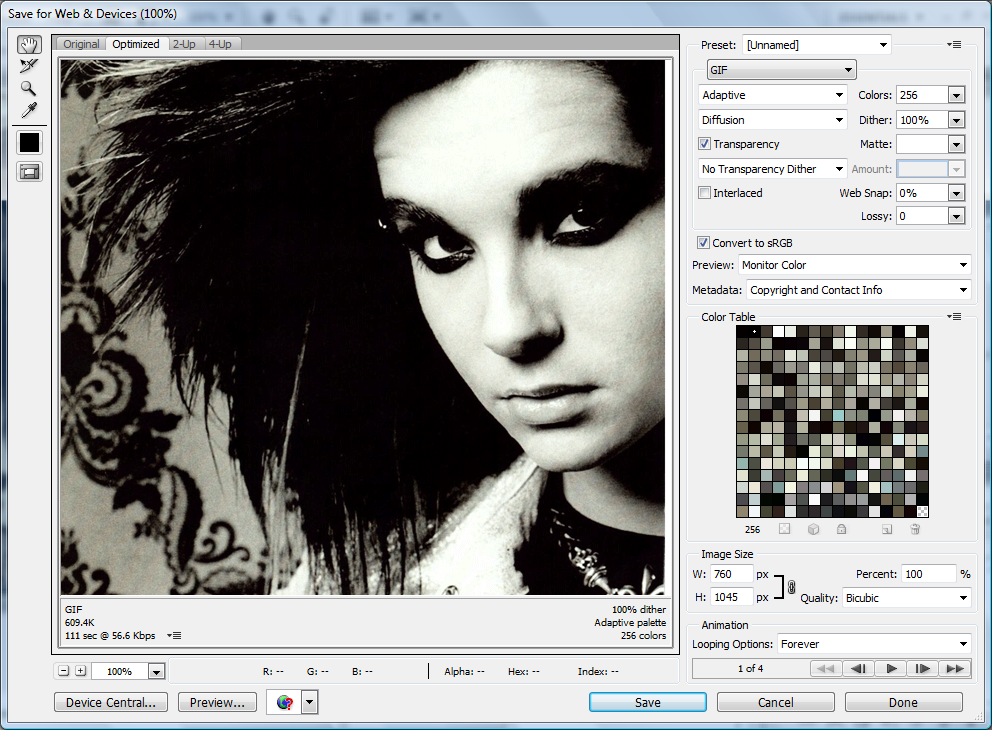
ARGH! All these complicated things! What do they all mean? Yeah, it doesn't matter. Just pick "save" and save the image to your hard drive. Make sure you save it in a .gif format.
After uploading the image, this is our final result:
Animations tend to take more time to load, so use sparingly. However, you can use this effect to make some really cool icons and signatures. Hope this helps you!

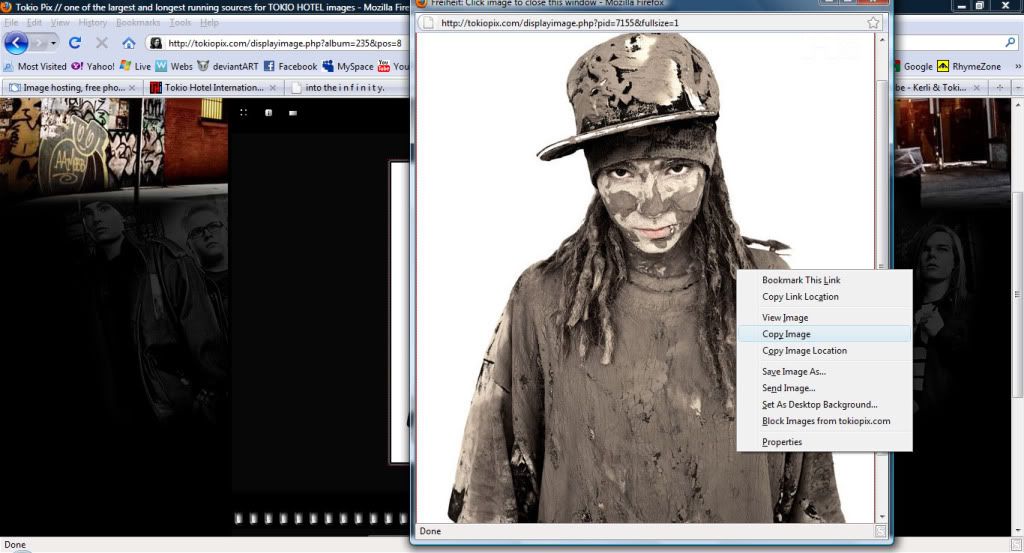

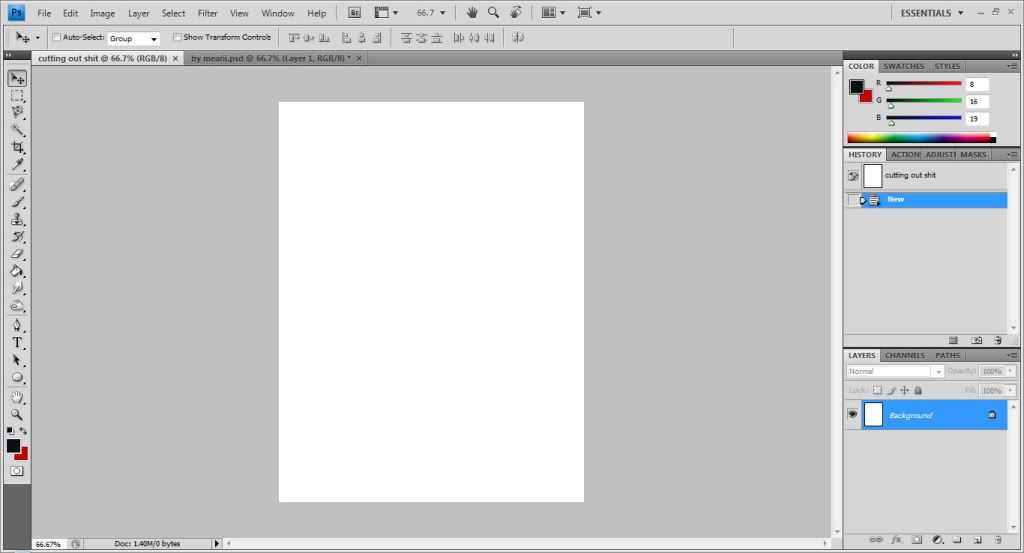
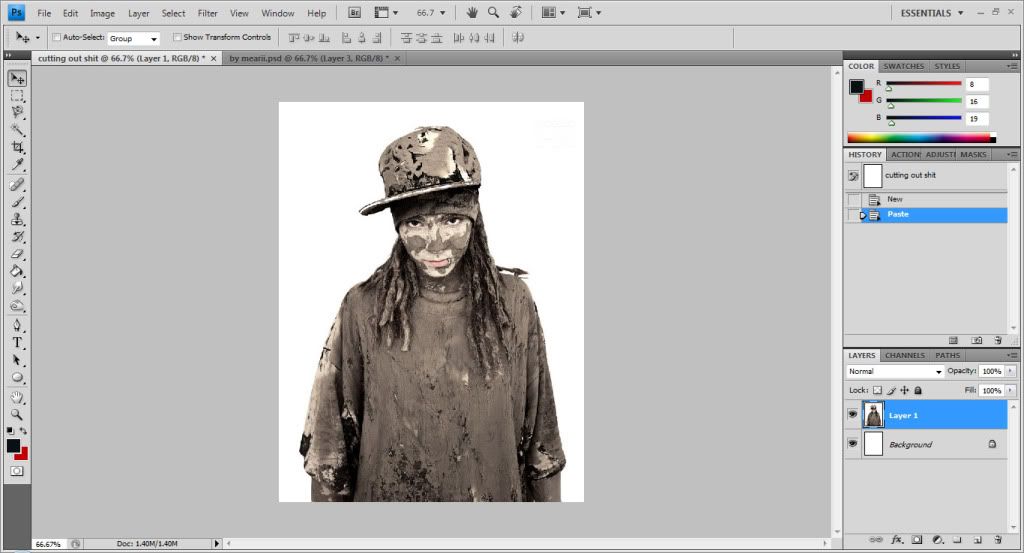
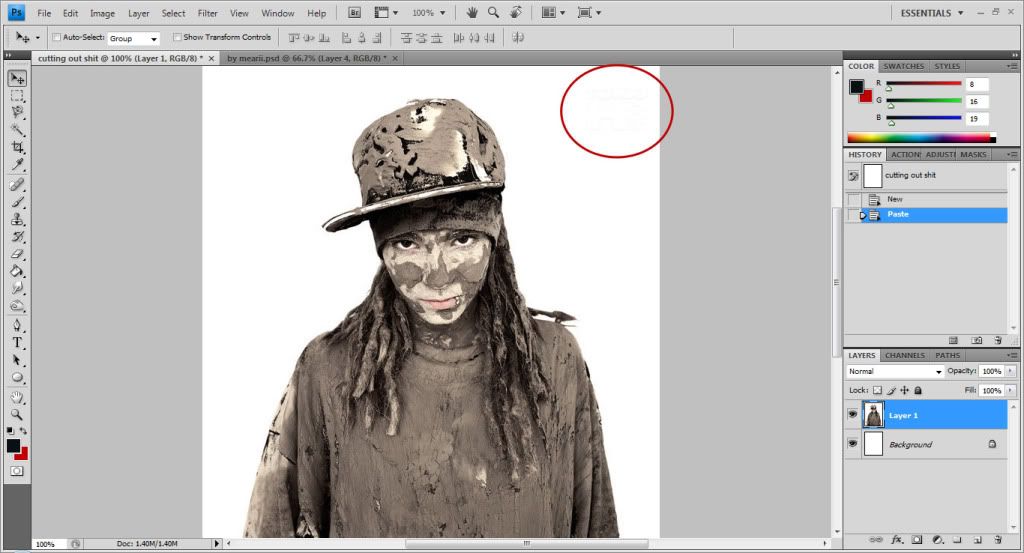

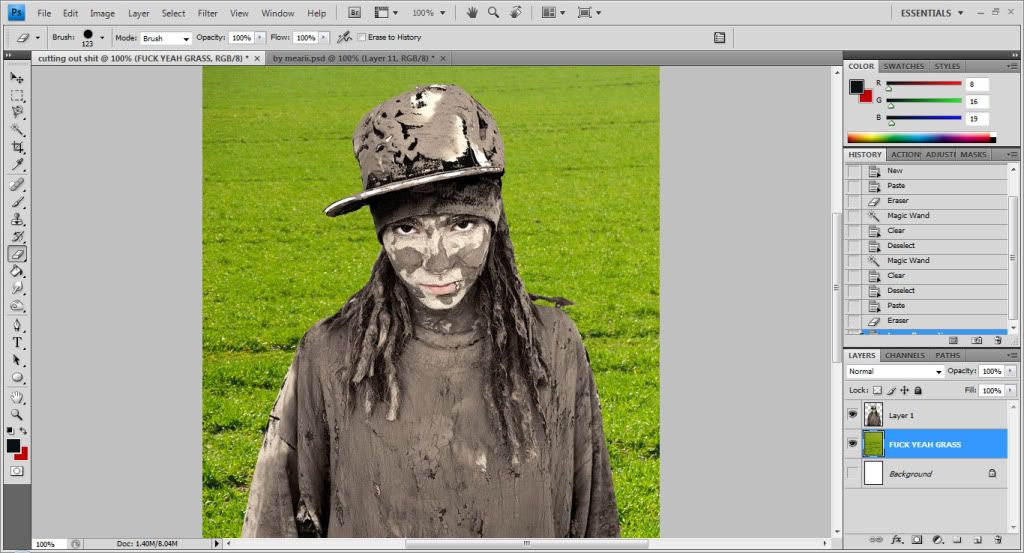
 eraser tool. It doesn't matter what settings there are, really, but here's mine:
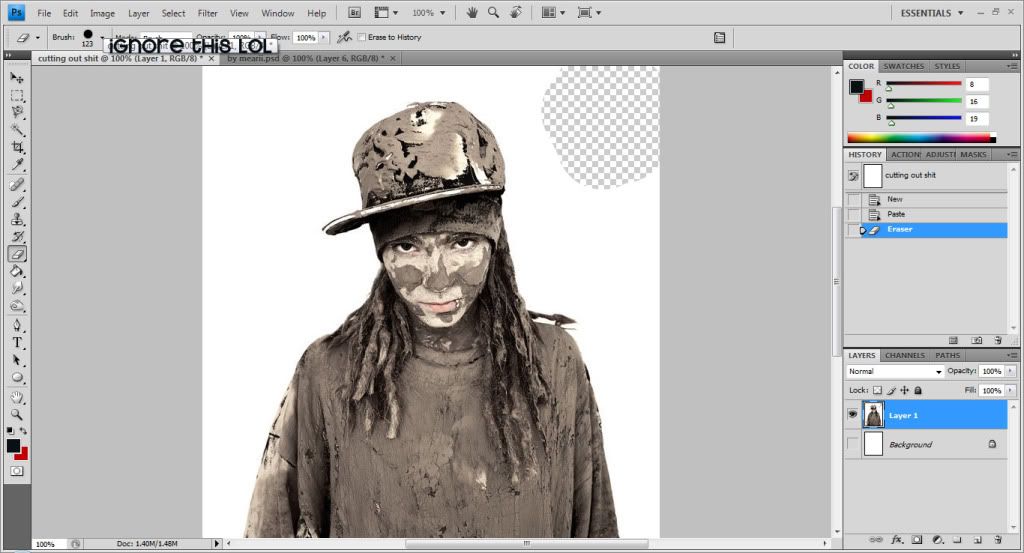
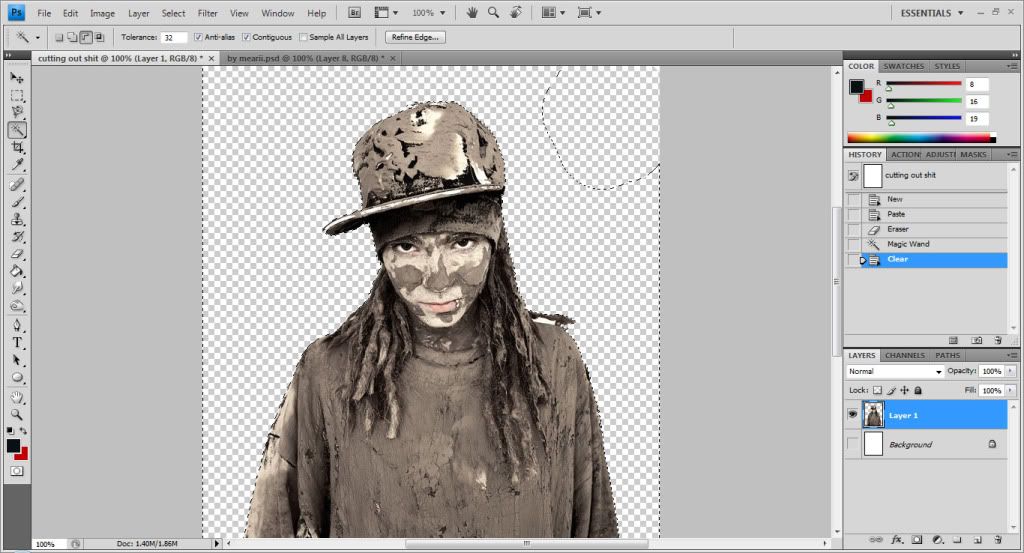
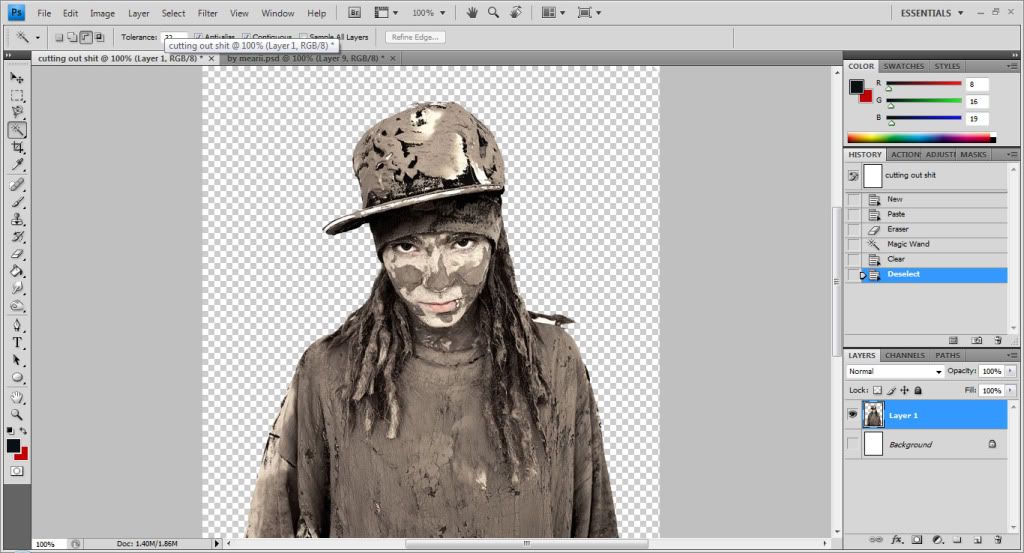
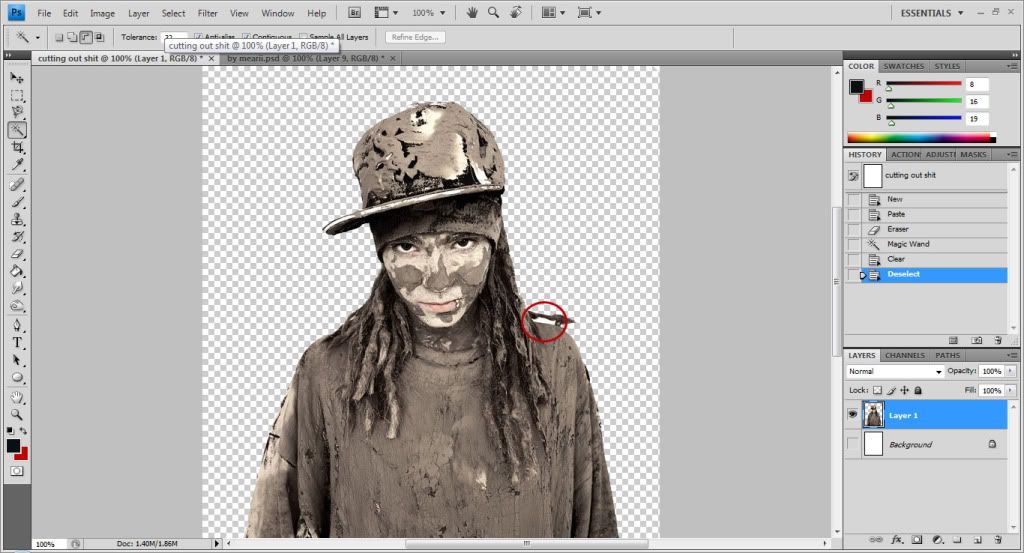
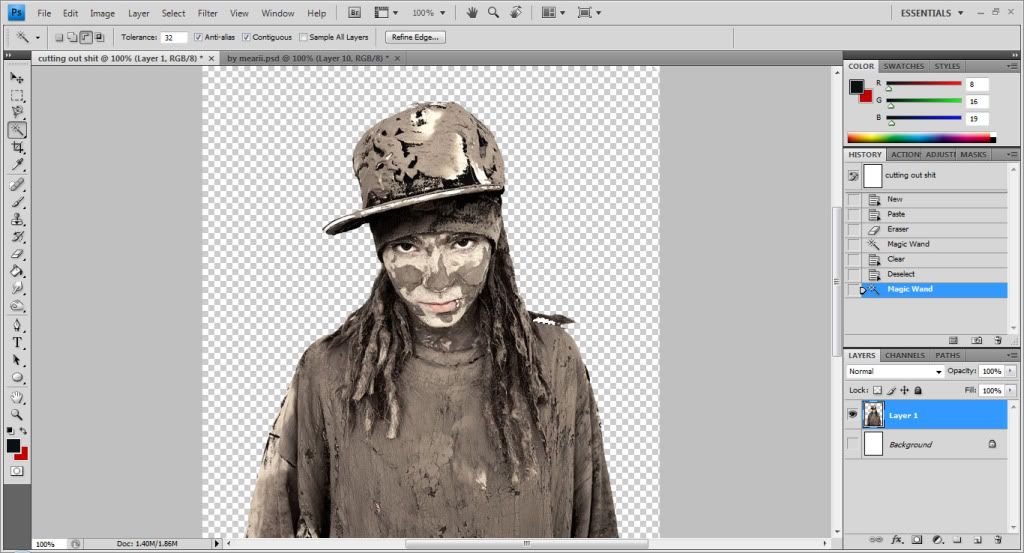
 Magic Wand tool. (If you can't see the magic wand tool, right click on the quick selection tool.) Click on your background and the entire thing will be outlined in a blinking dotted line. This means that whole area within the outline is selected.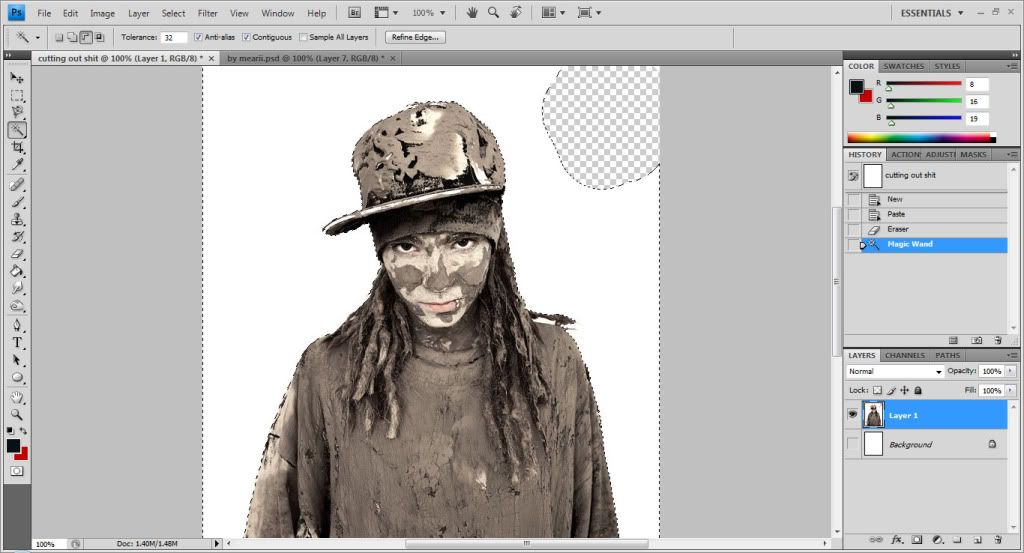

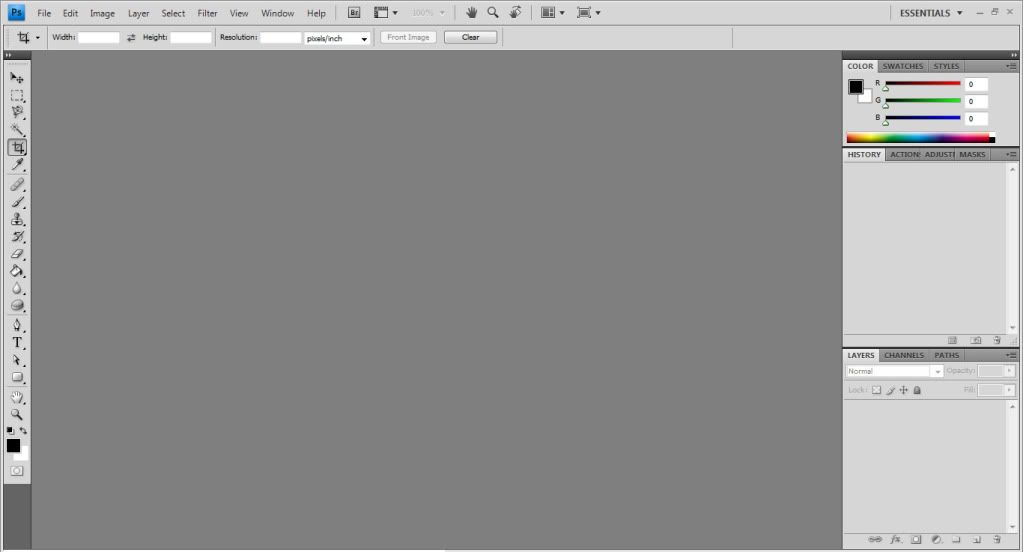
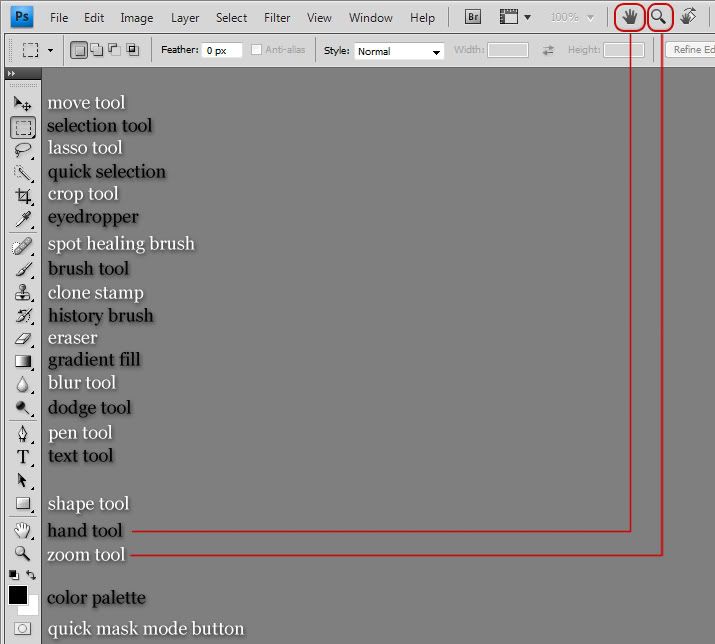
 - The Move Tool is used to... well... move things. With the move tool you can move whatever you like anywhere you like within your workspace. To use it just click on what you want to move and drag it to the desired location, otherwise you can use the arrow keys on your keyboard to move things in pixel by pixel.
  - The Selection Tool is used to select geometric shapes on your image. The rectangular selection tool makes square and rectangular selections. However, if you right click on the selection tool you will get a drop-down menu that looks like this:
 - The Lasso Tool. The lasso tool allows you to make a freehand selection of your choice. Just click and drag, and the lasso tool will make an independent selection based on what you draw. Once you make a selection, that selection becomes unique. Then you can add certain effects, fill in with color, or delete entirely the part of the image you selected. I'll go more in depth another time.
 - The Quick Selection Tool makes fast and easy selections quite like the magnetic lasso tool, but less tediously and usually less efficiently. This tool only comes with Photoshop versions CS3 and later. Right click on the quick selection tool and get this menu:
 - The Crop Tool lets you crop your images smaller, helping to get trim off pesky corners or parts of an image that you don't want.
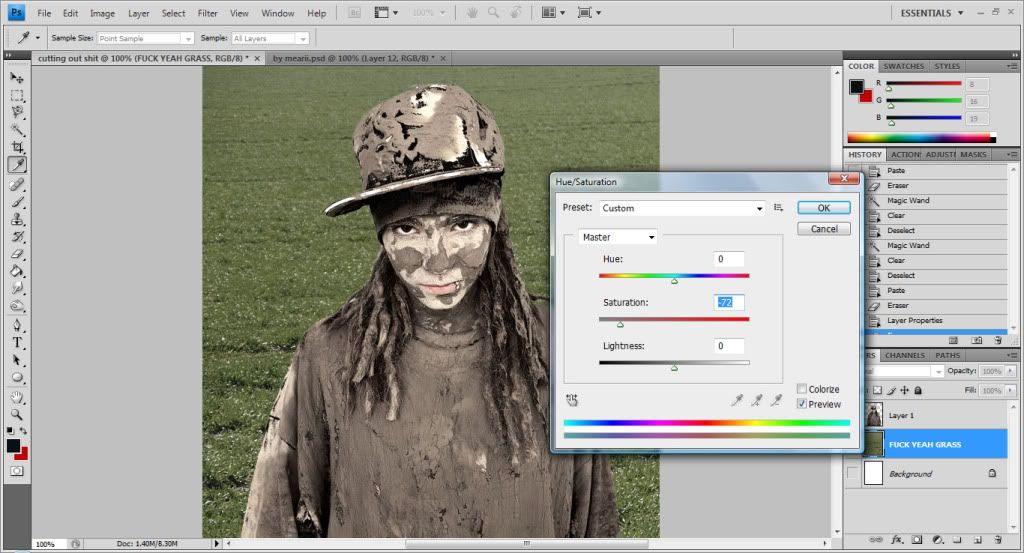
 - The Eyedropper Tool is used to take colors from an image. When you click on the section of the image you want to take the color from, the color appears in your color palette.
 - The Spot Healing Tool helps erase blemishes and imperfections by cloning areas of the image around the blemish and replacing them.
 - The Brush Tool acts like a real life paintbrush- you can paint with it, or use preset brush shapes and pictures to create textures and patterns.
 - The Clone Stamp Tool lets you duplicate parts of your image.
 - The Eraser Tool is entirely self-explanatory: it lets you erase parts of your image.
  - The Gradient Tool fills your image with gradients that you can customize with your liking. Right click and get this drop down menu:
 - The Blur Tool lets you soften specified areas of an image. Right click and get this drop down menu:
 - The Dodge Tool allows you to lighten areas of the image. Right click on the dodge tool and get this drop down menu:
